How to Use Waiting List Manager
1) Install the App
- Go to the Waiting List Manager page on BigCommerce and click “Install.
- Follow the prompts to connect the app to your BigCommerce store.
2) Initial Configuration
- Once installed, access the app’s dashboard from your BigCommerce control panel.
- Configure the basic settings from the Configuration tab, such as enabling waiting list functionality for out-of-stock products.
- In the Configuration tab, you will have options to configure Subscribed Email, In Stock Email, and Storefront Settings.
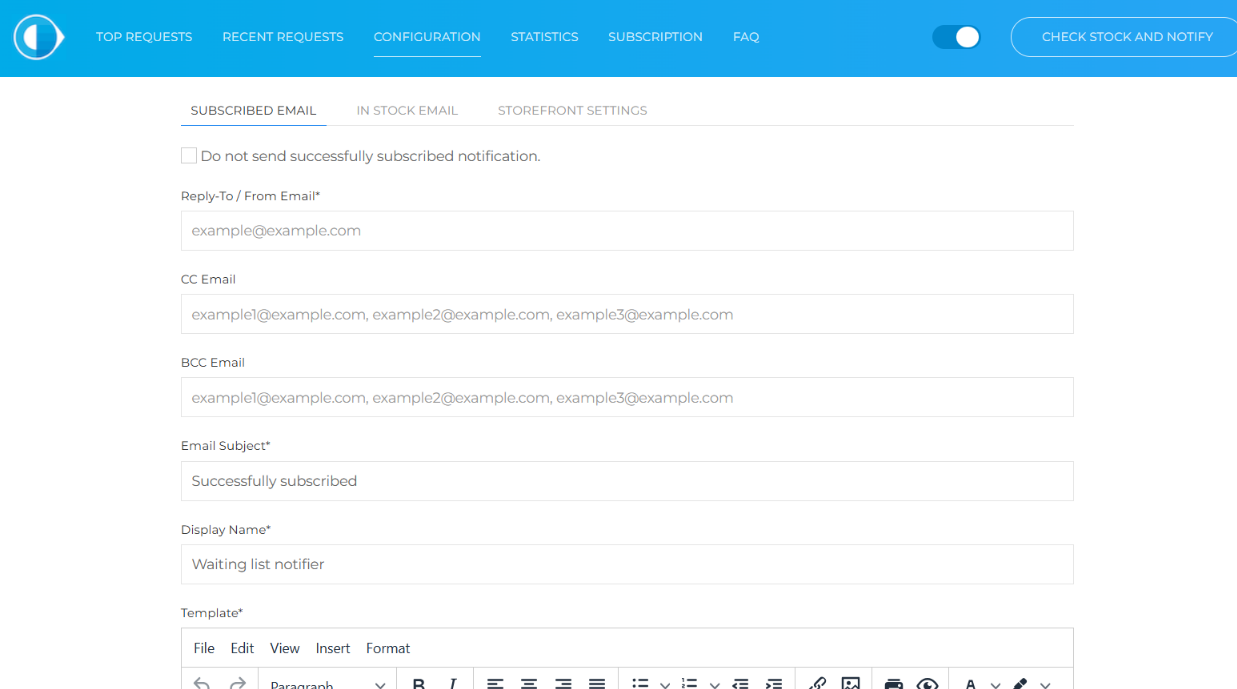
- You can customize the appearance and messaging of the waiting list form to match your store’s branding.
- By default, the Waiting List Manager uses the store's style and theme. In some cases, you can customize the appearance of UI elements added by the Waiting List Manager to the product detail page.
- Please do not hesitate to reach out to tech support if you need help with customizing.
3) Enable Waiting Lists on Product Pages
- Typically, the Waiting List Manager automatically adds a “Notify Me” or “Join Waiting List” button on product pages that are out of stock.
4) Set Up Notification Preferences
- Configure the email notifications that customers will receive once the product is back in stock. This is a crucial step for store administrators. Also, the store administrator needs to verify the email address by checking the email box and clicking on the link from the confirmation email.
- You can customize the subject, message content, and call-to-action to encourage conversions.
5) Manage Customer Subscriptions
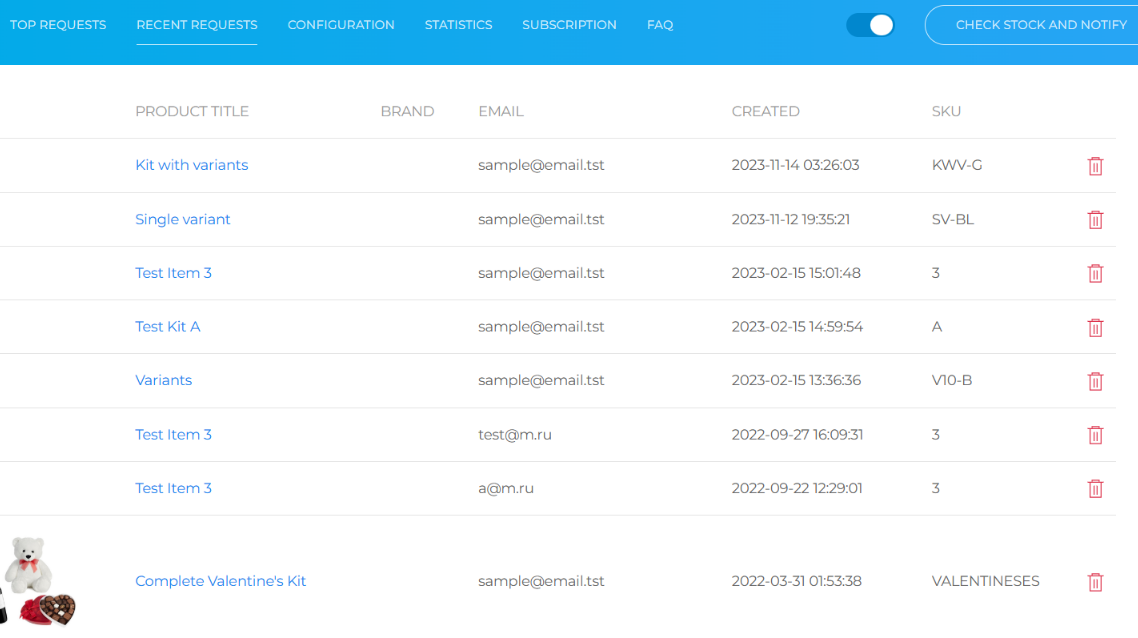
- Monitor incoming waiting list subscriptions from the Top Requests and Recent Requests pages.
- You can view customer details, such as their email addresses and the products they’re interested in.
- If needed, export the list for further analysis or integration with your email marketing platform.
6) Testing and Going Live
- Before fully rolling out, performing a test by marking a product as out-of-stock is suggested to see if the waiting list button appears and if notifications are sent correctly.
7) Monitoring & Updates
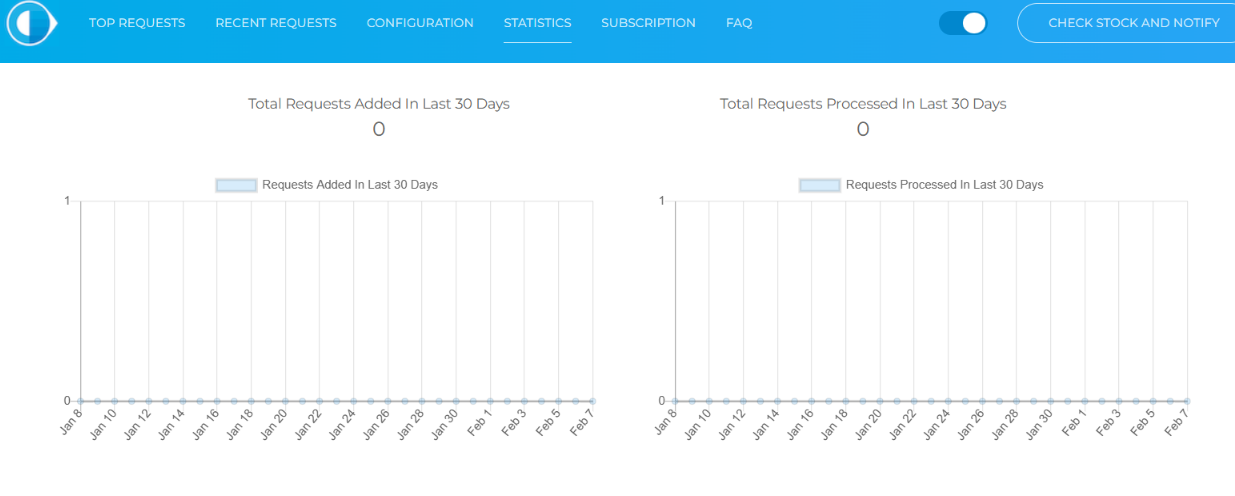
- You can check the statistics from the Statistics tab for new subscriptions and monitor notification performance.
- You can use the analytics provided by the Statistics tab in the Waiting List Manager app to understand customer behavior and adjust your marketing strategies if needed.
By following these steps, you can effectively use the Waiting List Manager to capture potential customers when items are out of stock, turning lost opportunities into future sales. If you have any questions during setup, refer to the app’s help documentation or contact Anvasof Support for further assistance.
FAQ
-
How to add product image into email template?
- Copy to clipboard product_img_src token by clicking on it in the bottom of the page
-
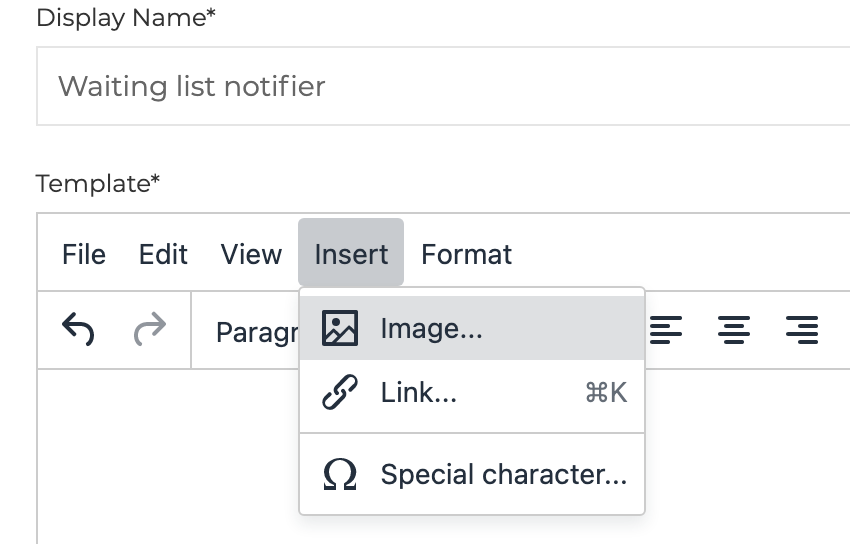
Click Insert Image... to open popup window
![]()
-
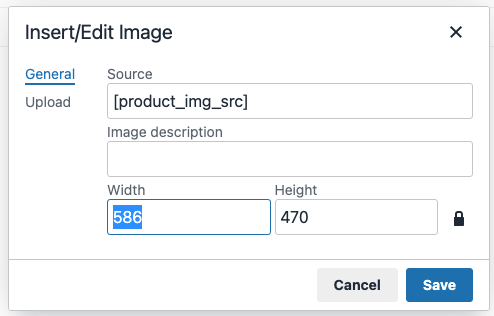
Paste token into Source input field, add a description and hit the save button to save the image
![]()
-
How to add custom image into email template?
-
Click Insert Image... to open popup window
-
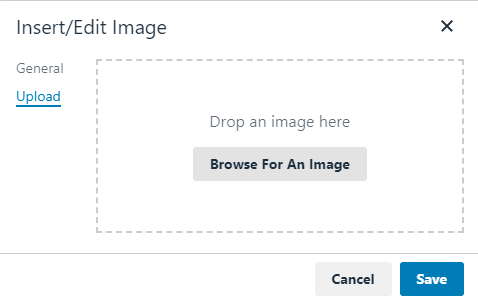
Select Upload tab and click Browse for An Image
![]()
![]()
-
-
How to customize input box and other elements on a product page?
- Option 1
-
UI elements can be customized via Configuration Storefront Settings page.
For each element (input box, button and two labels) you can specify either CSS style or CSS class or both.
- Option 2
-
If you have an access to Stencil theme files, you can specify custom styles for input box, button and labels displayed on a product page. Each element has an id attribute assigned.
<div id="backInStock-container">

    <div id="wlm_title_div">Enter your email address to be notified when this item is back in stock.</div>
    <input id="wlm_email_box_input" type="email" placeholder="email@example.com">
    <input id="wlm_notify_me_button" type="button" value="Notify Me">

    <div id="wlm_request_accepted_div">Request was successfully accepted.</div>

</div>
